


Application Load Balancer?
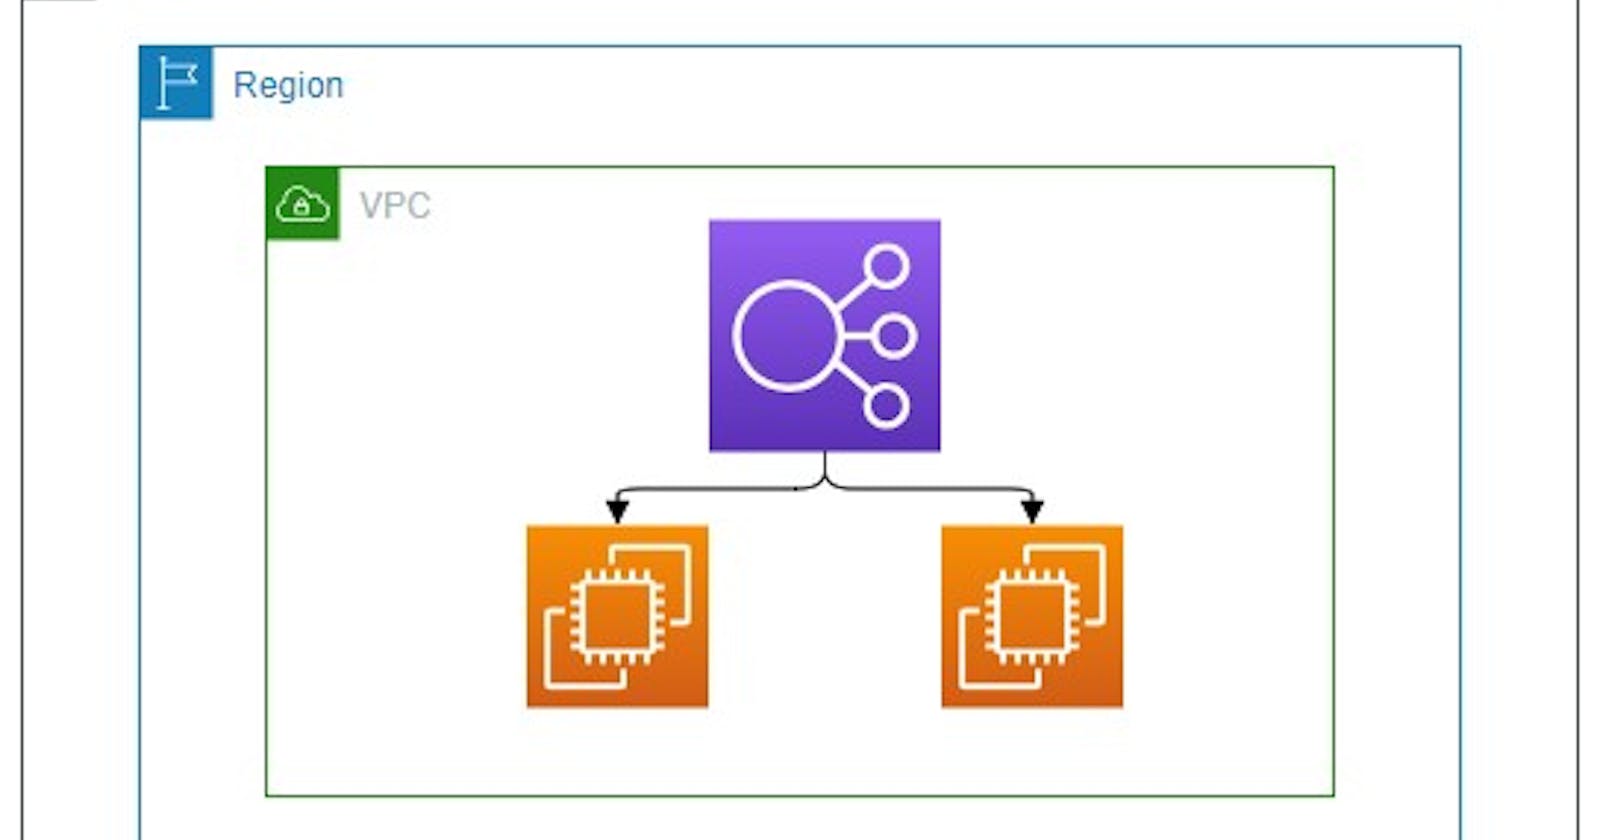
A load balancer serves as the single point of contact for clients. The load balancer distributes incoming application traffic across multiple targets, such as EC2 instances, in multiple Availability Zones. This increases the availability of your application. You add one or more listeners to your load balancer.
[ Reference Source: AWS documentation ]

Let's start the Lab session in AWS account
In this lab you will learn the following:
How to create an EC2 instance with user data
How to make simple VPC
How to make a security group suit for ELB
How to configure multiple EC2 with an Application load balancer

Step 1: Create a Simple VPC.
Search VPC and create VPC as the following VPC setting:
Resources to create:
VPC OnlyName tag - optional:
myVPCIPv4 CIDR:
10.0.0.0/16Leave all default and Create VPC
Select subnets and create subnets as:
VPC ID: Select
myVPCSubnet Settings: (for subnet1)
Subnet name:
subnet1Availability Zone: Select 1st zone
IPv4 CIDR block:
10.0.0.0/24
Add new subnetSubnet Settings: (for subnet2)
Subnet name:
subnet2Availability Zone: Select 2nd zone
IPv4 CIDR block:
10.0.1.0/24
( Note: you can add more than 2 subnets also )
Create subnet
Create an internet gateway and attach it to VPC as:
Internet gateway settings
Name tag:
myIGCreate internet gateway
Attach to a VPC and select
myVPCAttach internet gateway
Select the route table and Create the route table as:
Route table settings
Name - optional:
routeVPC: Select
myVPC
Create route table
Select
routeID and then go to Routes -> Edit routes -> Add routeDestination:
0.0.0.0/0Target: Select internet gateway and select that we created
and Save changes
Similarly, Select
routeID and then go to Subnet associations -> Edit Subnet associations- Select all subnets and Save associations
Step 2: Create a security group for ELB:
Search VPC, scroll down its left sidebar and create a security group as:
Security group name:
ELBsecurityDescription:
Elastic load balancer use itVPC: remove existing and select
myVPCInbound rules:
Add rule
Type:
SSH, Source:0.0.0.0/0Type:
HTTP, Source:0.0.0.0/0
Outbound rules:
- Leave default i.e. Type:
All traffic, Source:0.0.0.0/0
- Leave default i.e. Type:
Create security group
Step 3: Create two EC2 instances.
Search EC2 and Launch EC2 instance as:
For the first EC2 instance
Name:
server1Create a key-pair or choose any existing key.
Network Setting >
EditVPC: Select
myVPCSubnet: Select
subnet1Auto-assign public IP:
enableFirewall: Check
select existing security groupand selectELBsecuritythat we created
Leave all default and Expand Advanced details
Go directly to the user data field at last and copy-paste this:
  #!/bin/bash
  sudo yum update -y
  sudo yum install -y httpd
  sudo systemctl start httpd
  echo "<html><body><h1> Hello! I am server1 </h1></body></html>" > /var/www/html/index.html
Launch instance
For the second EC2 instance
Name:
server2Create a key pair or choose any existing key.
Network Setting >
EditVPC: Select
myVPCSubnet: Select
subnet2Auto-assign public IP:
enableFirewall: Check
select existing security groupand selectELBsecuritythat we created
Leave all default and Expand Advanced details
Go directly to the user data field at last and copy-paste this:
  #!/bin/bash
  sudo yum update -y
  sudo yum install -y httpd
  sudo systemctl start httpd
  echo "<html><body><h1> Hello! I am server2 </h1></body></html>" > /var/www/html/index.html
Launch instance
Also, you can check after the 2/2 check passed whether your instances are publically accessible or not by rendering their public IP in a new tab.
For example, server2 public IP gives:
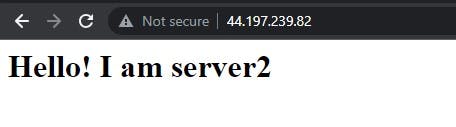
Step 4: Create an Application load balancer.
In the left bar of EC2 scroll down and click on
Load balancersClick Create load balancer -> Application load balancer
CreateCreate Application Load Balancer as:
Basic configuration
Load balancer name:
balanceLoadLeave all default
Network mapping
VPC: Select
myVPCMappings: Select at least two availability zones for now we have only 2 subnets of different availability zones so select both
Security groups
- Security groups: Select
ELBsecurityand remove the default one
- Security groups: Select
Listeners and routing
Listener HTTP:80
Default action: Select a target group but we don't have a target group. Our priority is to create a target group, So select
Create target group.[you can also create a target group first and then associate at that point.]
It renders directly to the Create target group or you can select manually at the left bar of the EC2 instance just below the load balancers
{
Create target group as:
Specify group details:
Target group name:
targetELBVPC:
myVPCProtocol version: leave as HTTP1
Leave all default and Next
Register targets
Select both available instances and Click on Ports for the selected instances: 80 and
Include as pending belowThen Create target group
}
Go back to Listeners and routing, refresh, and select
targetELB
Leaving all default and Create load balancer
Step 5: Render the DNS of an Application load balancer.
Go to load balancer and copy the DNS name of
balanceLoadthat we created.Open a new tab of any browser and paste it.
Now, observe by refreshing the tab how the load is distributed.